Painting wood with acrylic is the foundation of countless projects, from bringing an old piece of furniture back to life to decorating a handmade gift. Acrylic is wood's favourite kind of paint: water-based, odourless, quick-drying, and — applied properly — good for years. But there are a few important steps between slapping it on and getting a professional result. In this guide we take you through painting wood with acrylic from scratch, step by step, in a way that works even if you've never done it before.
Why acrylic paint for wood?
Wood is a porous surface; it draws paint in and holds it tightly. That's what makes acrylic ideal for wood. Its other advantages:
- Water-based and odourless: You can work comfortably indoors, at home; no solvent smell.
- Dries fast: Usually touch-dry in 20-30 minutes, so you can move on to a second coat quickly.
- High opacity: It covers even dark wood in few coats.
- Flexible and crack-resistant: Wood expands and contracts slightly with moisture; acrylic moves with it.
- Cleans up with water: You wash your brush in water alone — no solvent needed.
Before you start, browse our range of acrylic paints and choose the colour that suits your project.
Before you start: what you'll need
- Acrylic paint (your main colour, plus primer or white if needed)
- Brushes in different sizes and/or a sponge
- Sandpaper (medium and fine grit, for example 120 and 240)
- A clean cloth and a dusting brush
- Masking tape (for crisp edges)
- Varnish (for durability)
- Old newspaper or a dust sheet (to protect the floor)
Know your wood: it changes how paint grips
Not all wood behaves the same. Knowing which surface you're working with determines the result:
- Raw (untreated) wood: The most absorbent surface. It drinks up the first coat; you may need two or three thin coats.
- MDF and chipboard: Smooth and absorbent. The edges soak up more than the faces; give the edges an extra coat.
- Varnished / lacquered wood: A glossy surface repels paint. You must sand it to take the shine off, or the paint won't grip.
- Oily woods (teak, for example): They contain natural oils; thorough cleaning and sanding are essential.
Step by step: how to paint wood with acrylic
1. Clean the surface
Dust, grease and dirt stop paint gripping. Wipe the surface with a damp cloth, and if needed clean it with mild soapy water and dry it. Wipe any greasy marks with a little alcohol. Wait until it's completely dry.
2. Sand it
Sanding creates the micro-texture the paint grips onto — a step you shouldn't skip. Sand with medium grit (120) along the grain, then smooth it with fine grit (240). This step is critical on varnished and glossy surfaces. Remove all the sanding dust with a dry cloth or brush.
3. Do I need a primer?
Not always, but it makes life easier in these cases: a light colour going over very dark wood, a very absorbent surface, or stained or yellowed wood. A coat of white acrylic or primer makes the true colour come out vivid and reduces how much paint you use. Apply the primer, wait for it to dry fully, and sand it lightly.
4. Apply the first coat
Apply the paint along the grain, thinly and evenly. Don't overload it; a thin coat dries more smoothly and leaves no marks. The first coat can look a bit transparent — don't panic; the opacity arrives with the second coat. Do corners and edges with a small brush, and large areas with a big brush or a sponge.
5. Let it dry and apply the second coat
Wait until the first coat is fully dry (usually 30-60 minutes). Applying a second coat over one that hasn't dried causes marks and peeling. Apply the second coat thinly, again along the grain. Add a third if needed; 2-3 coats is normal on raw wood and with vivid colours.
6. Detail, pattern and effects
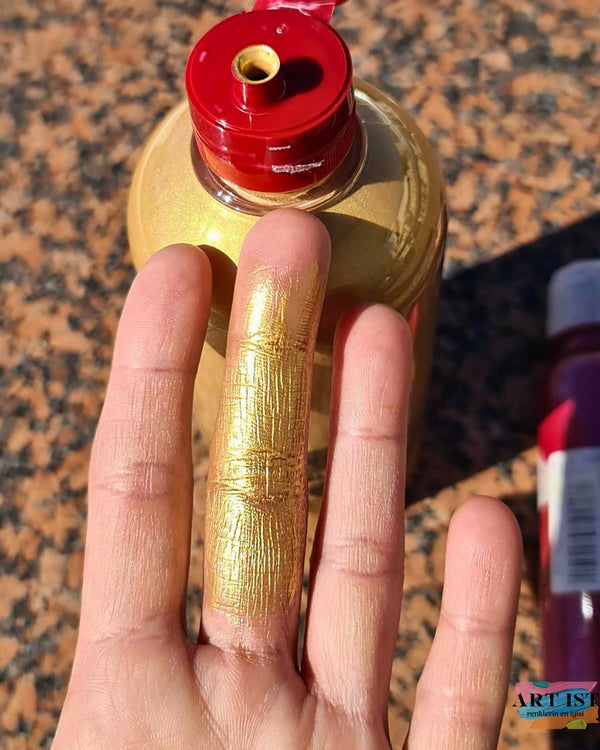
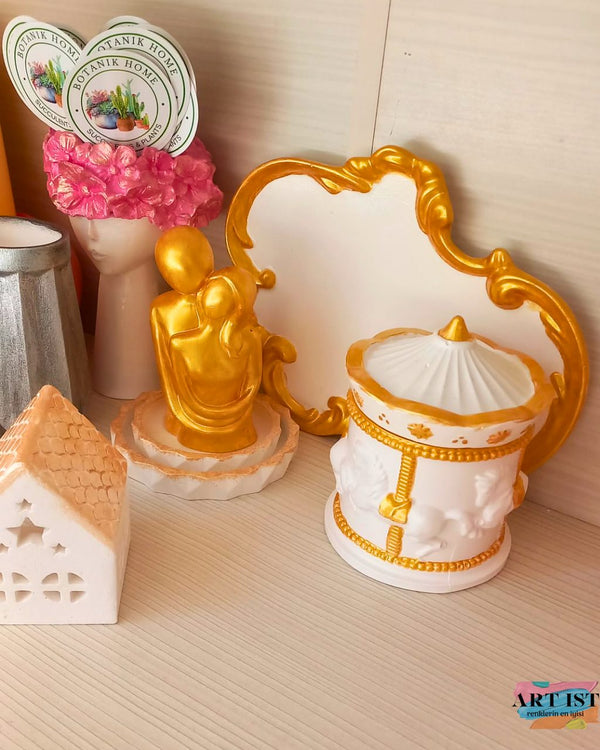
There's much more than flat colour: crisp lines with masking tape, patterns with a stencil, or highlights in metallic shades. If you want a vintage look, take a look at our distressing guide. Liquid leaf looks wonderful for gold details.
7. Protect it with varnish
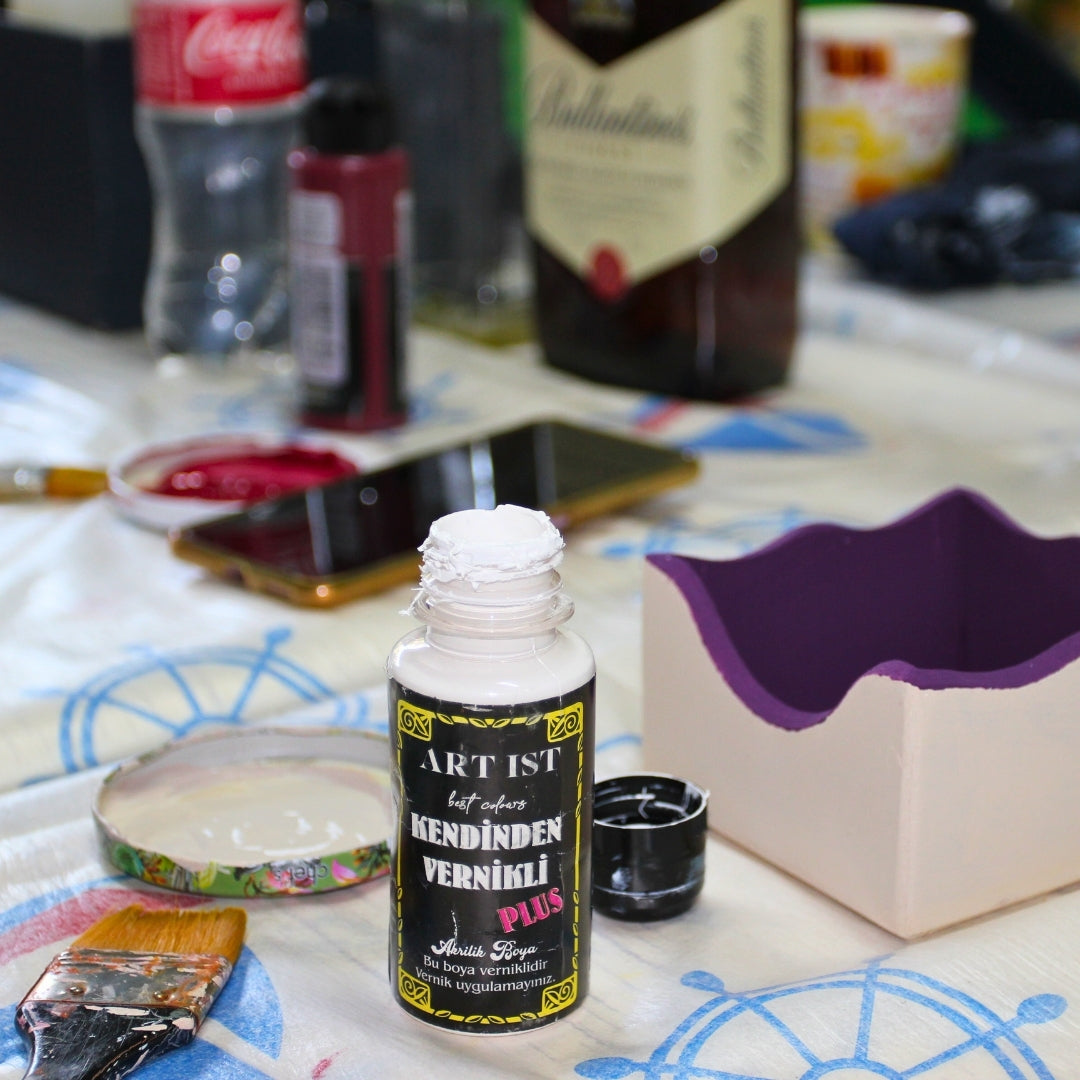
Varnish is the last and very important step in painting wood. Once the paint is fully dry (ideally a few hours, or a day for thick coats), apply a coat of varnish. Varnish protects the surface against scratches, water and wear. Use gloss varnish for a shiny look, or matte varnish for a natural matte texture. If you'd rather do it all with one product, our self-varnishing PLUS range combines paint and varnish.
Indoors or outdoors? The important differences
Wood that will live outside (garden furniture, planters, door decorations) has to cope with sun, rain and damp. So:
- Apply more coats; make the protective layer thick.
- Always finish with a varnish suitable for outdoor use; unvarnished paint outdoors fades quickly.
- Use a primer on very absorbent surfaces.
For indoor items, a single coat of varnish is usually enough.
The 7 most common mistakes when painting wood
- Skipping the sanding: The paint won't grip and will peel.
- Not removing the dust: You get a rough, gritty surface.
- Applying thick coats: Brush marks, runs and long drying times.
- Recoating before the last coat has dried: Marks and peeling.
- Brushing against the grain: The marks show and it looks rough.
- Skipping the primer (on dark wood): The colour comes out washed out and needs many coats.
- Leaving it unvarnished: The paint scratches and wears quickly.
Caring for painted wood
You can clean a varnished wooden surface by wiping it with a damp cloth. Avoid abrasive sponges and harsh chemicals. If you want a matte look over time, you can apply another thin coat of matte varnish. If it gets scratched, touch up that spot lightly and re-varnish.
Frequently asked questions
Can acrylic be applied to wood without a primer?
Yes — on most clean, light-coloured wood you'll get a good result without one. But on dark, stained or very absorbent wood, a coat of primer sharpens the colour and reduces how much paint you use.
How many coats do I need?
Two is usually enough; raw wood and vivid or light colours may need three. Thin coats always beat a single thick one.
Is acrylic paint waterproof on wood?
It's water-resistant once dry, but for genuine waterproofing you need varnish over the top — especially outdoors and on surfaces that get wet.
Will the paint be glossy or matte once dry?
That depends on the paint and varnish you choose. The type of varnish (gloss, matte, satin) determines the final look.
Can I repaint wood that's already painted?
Yes. Sand the surface to take the shine off, remove the dust, and apply the new acrylic coat straight over the top.
Which brush should I use?
A wide flat brush or a sponge for large areas, and a fine round brush for corners and details. Pick the right one from our range of brushes.
Painting wood is an enjoyable job anyone can manage with a little patience and the right steps. Good preparation, thin coats and a varnished finish — that's the whole secret. Choose your colours, try them on something small, and give the wood in your home a new lease of life. Enjoy!